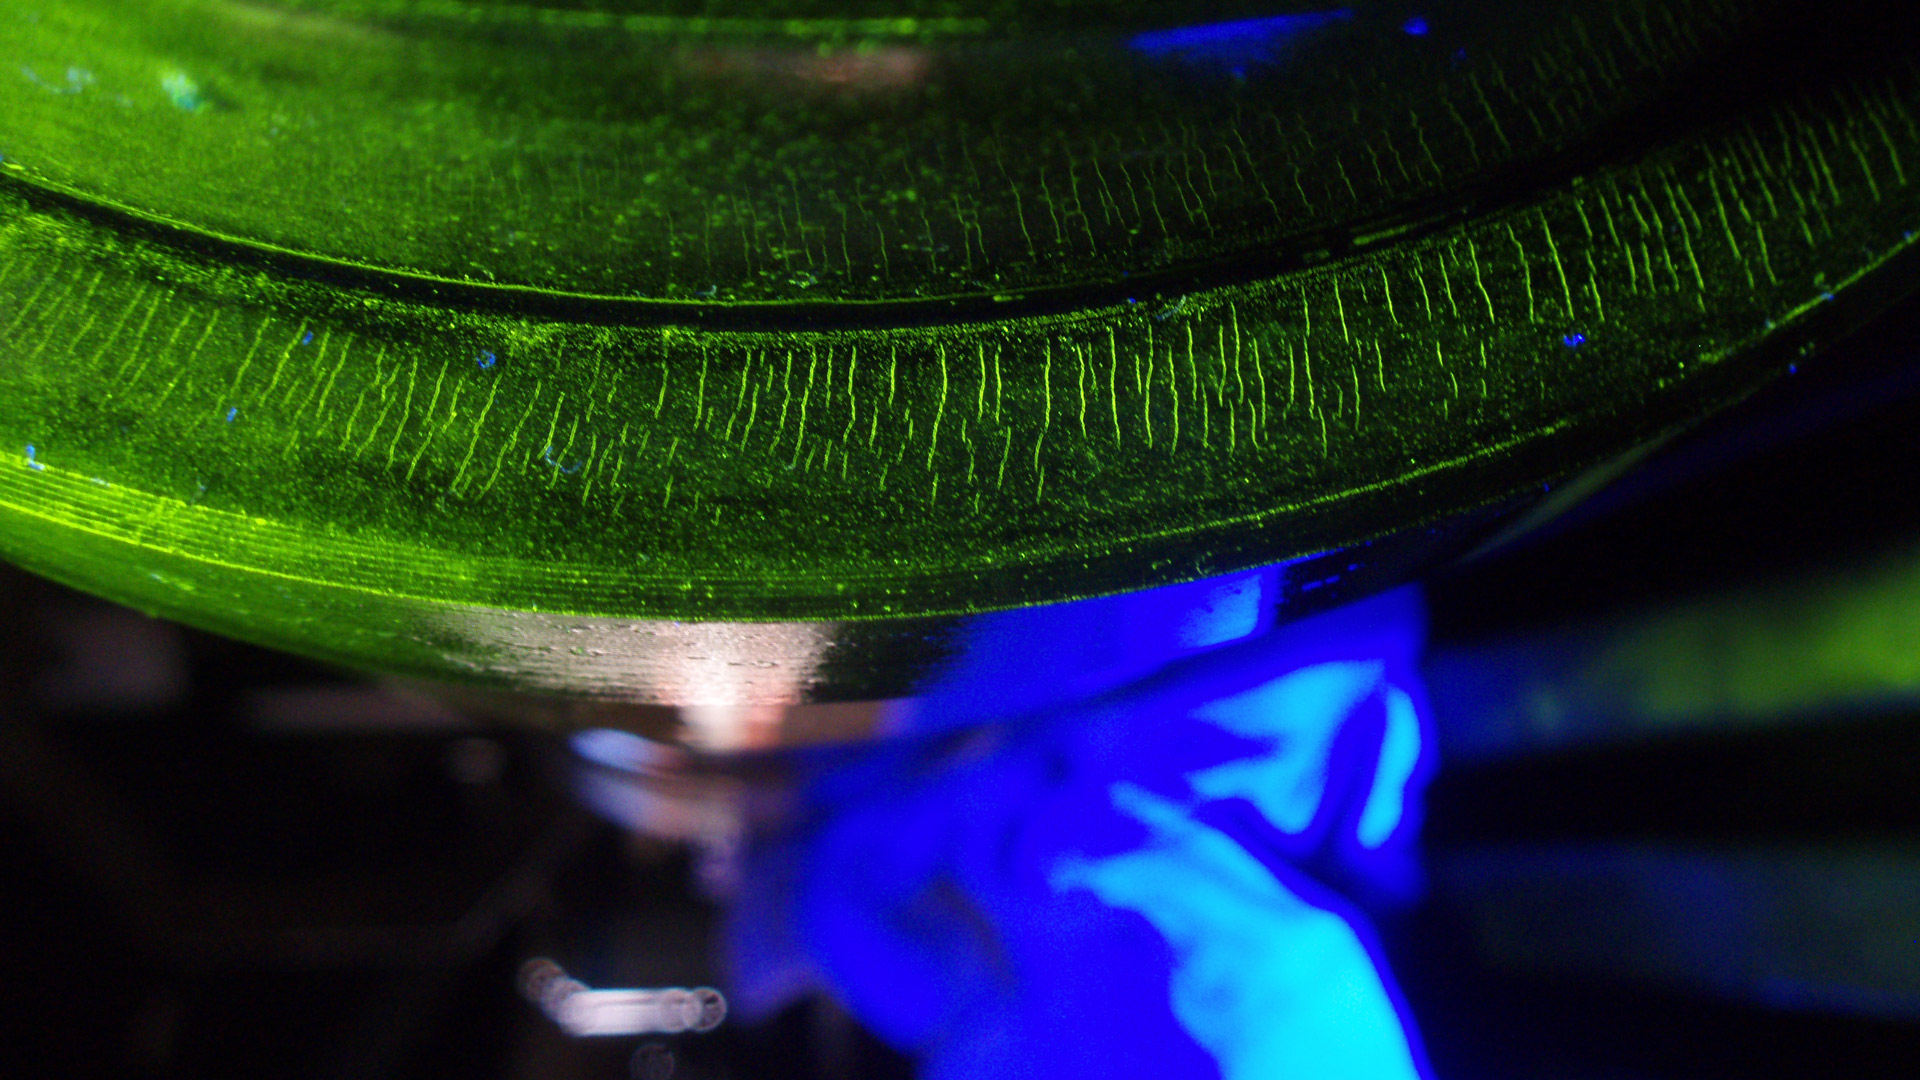
Visual inspection
Visual inspection is a technique extensively used in conventional nondestructive testing. It consists of visually examining a surface or component for possible defects, anomalies or damage visible to the naked eye.
Visual inspection is often the first step in assessing the integrity of a part or structure. It provides immediate and direct information about potential surface problems such as cracks, fissures, corrosion, deformation, wear, irregularities, discontinuities, porosities or other visible imperfections.
This type of inspection can be performed at different stages of manufacturing or in the lifetime of a component. For example, it can be carried out during the inspection of raw materials, in the manufacturing process, in the final inspection before shipment or in the periodic maintenance inspection.
Visual inspection can be performed directly, where the inspector visually examines the object or component without the use of additional tools or equipment, or indirectly, using devices such as magnifying lenses, video cameras or specialized lighting systems to enhance visibility and defect detection.
It is important to mention that visual inspection requires the experience and skill of the inspectors, as their ability to detect defects may depend on factors such as lighting, viewing angle and experience in interpreting visual cues.
In addition, visual inspection can be combined with other non-destructive methods, such as radiography, ultrasonography or magnetic particle, to obtain a more complete assessment of the integrity of an object or component.
